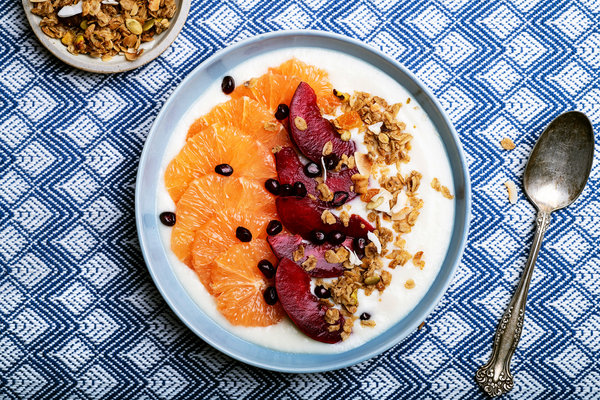
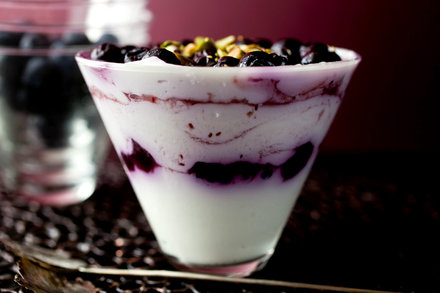
Creamy Homemade Yogurt
- Yield 1 3/4 quarts
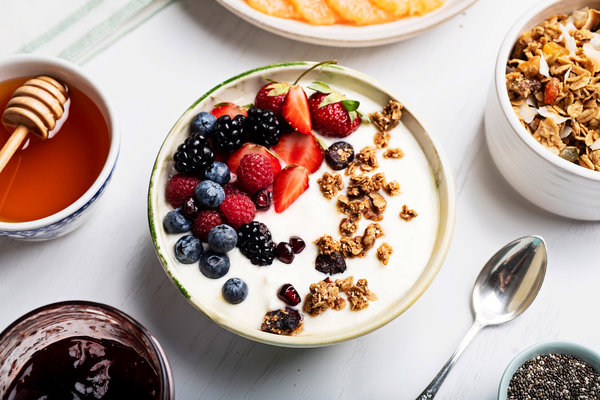
Karsten Moran for The New York Times
Ingredients
- 2 quarts whole milk, the fresher the better
- ¼ cup heavy cream (optional)
- 3 to 4 tablespoons plain whole milk yogurt with live and active cultures
Preparation
- Rub an ice cube over the inside bottom of a heavy pot to prevent scorching (or rinse the inside of the pot with cold water). Add milk and cream, if using, and bring to a bare simmer, until bubbles form around the edges, 180 to 200 degrees. Stir the milk occasionally as it heats.
- Remove pot from heat and let cool until it feels pleasantly warm when you stick your pinkie in the milk for 10 seconds, 110 to 120 degrees. (If you think you’ll need to use the pot for something else, transfer the milk to a glass or ceramic bowl, or else you can let it sit in the pot.) If you’re in a hurry, you can fill your sink with ice water and let the pot of milk cool in the ice bath, stirring the milk frequently so it cools evenly.
- Transfer 1/2 cup of warm milk to a small bowl and whisk in yogurt until smooth. Stir yogurt-milk mixture back into remaining pot of warm milk. Cover pot with a large lid. Keep pot warm by wrapping it in a large towel, or setting it on a heating pad, or moving to a warm place, such as your oven with the oven light turned on. Or just set it on top of your refrigerator, which tends to be both warm and out of the way.
- Let yogurt sit for 6 to 12 hours, until the yogurt is thick and tangy; the longer it sits, the thicker and tangier it will become. (I usually let it sit for the full 12 hours.) Transfer the pot to the refrigerator and chill for at least another 4 hours; it will continue to thicken as it chills.
Tip
- If you want to make Greek yogurt, set a colander or sieve over a bowl and line the colander with cheesecloth. Take your finished yogurt, either before or after you've chilled it, pour the yogurt into the colander, and let it sit in the refrigerator for 2 to 6 hours to drain. (Keep an eye on it, and when it looks thick enough to your liking, transfer it to a jar; if it becomes too thick, stir some of the whey back in.) Reserve remaining whey for smoothies, soups or lemonade, or for marinating poultry.
Like this recipe?