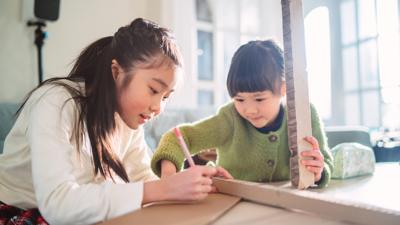
Step one:
Cut one large circle out of the piece of card.
Step two:
Cut a smaller circle out of the centre of that first circle, so the hat can rest on your child’s head. This will form the main part of your bonnet.
Need inspiration for your Easter bonnet? Here’s an quick and easy idea of how to make a simple Easter bonnet for your little one that will be the talk of the playground.
Step one:
Cut one large circle out of the piece of card.
Step two:
Cut a smaller circle out of the centre of that first circle, so the hat can rest on your child’s head. This will form the main part of your bonnet.

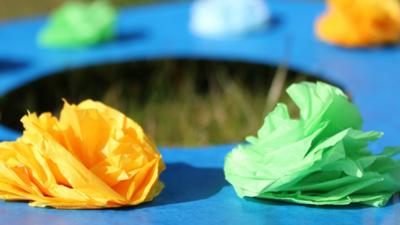
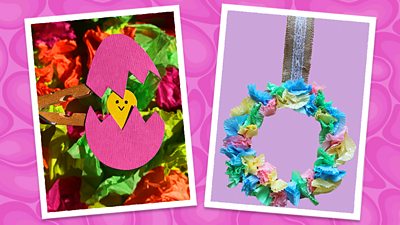
Step one:
Holding six or seven sheets of tissue paper together, cut out a circle creating several layers of tissue paper.
Step two:
Staple these circles together in the centre.
Step three:
Use your fingers to individually scrunch up the layers of tissue paper, giving you a flower effect.
Step four:
Make as many of the tissue flowers as you wish.
Final step:
Glue your flowers to the brim of the hat and your bonnet is done!
PRO TIP: You can accessorise your bonnet with any other lightweight decorations you have to hand – Easter chicks or sequins could add some individual style!

Easter is the most important festival in the Christian calendar follow Toby and Tia as they prepare for Easter and find even more craft ideas to make with the kids.

Seven tips for gardening with kids
Springtime Fun
Gran Gran Plan: Pond Dipping
Spring crafts with Evie
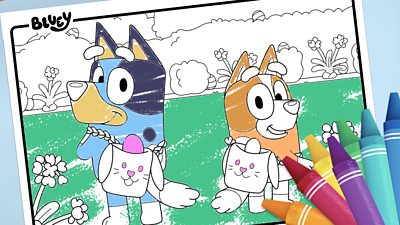
Bluey Easter colouring sheet
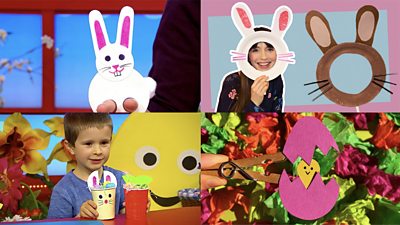
Easter bunny templates and craft ideas
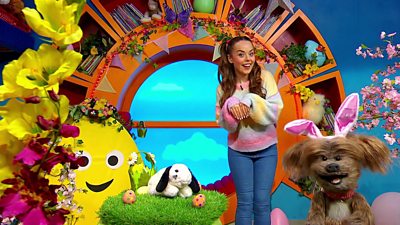
Sing the Easter song with Evie
Bluey's Easter spot the difference quiz

Make pretty cardboard flowers

Spring Colouring Sheets

Days of Spring

Make a Paper Flower Crown

Make a tulip painting

It's time to bloom at the Furchester Hotel

Celebrating Easter for the first time

Easter bunny make

Cool Move - Funky Chicken
Which CBeebies bunny or chick are you?

Nelly and Nora Make a Picture

Celebrate Norouz with CBeebies

Celebrating Easter: The Easter Story and fun...

Printable Easter Bunny colouring sheets

DIY Easy Easter bonnet

Printable Supertato Easter card

Printable Peter Rabbit Easter card
Send a JoJo & Gran Gran Easter card

CBeebies Easter bunny card